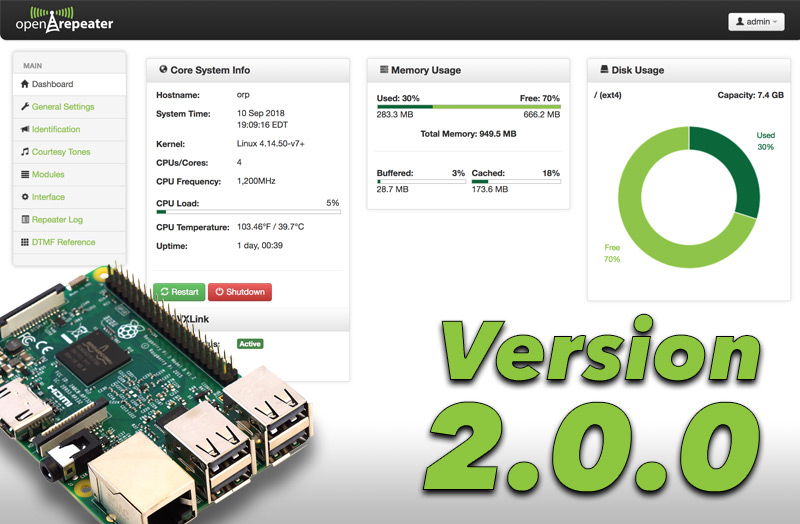
The wait is over, OpenRepeater version 2.0.0 is here. So what’s new you may ask? Well…a lot off stuff. We’ve added a version history to the website, You can check that out for a comprehensive list. Here are some of the key features & improvements.
Under The Hood
Version 2.0.0 of OpenRepeater now uses version 17.12.2 of SVXLink for our core. We’ve also started rewriting some of the PHP code into classes to not only clean up the code but to facilitate current and future improvements.
Basic Support for Multiple Ports
A long awaited function has been the support of multiple ports. With the rewriting of some of the code that is now possible in a limited capacity that will cover many but not all users. Currently, the first or primary port will function as repeater port. Any additional ports will function as simplex link ports automatically. We have plans to improve this in upcoming releases. The back end code is now there to support other configuration, it is just a matter of reworking the user interface in a logical way to add more flexibility while not convoluting the UI experience.
Board Presets
This is a big time saver feature. We’ve started a database of board settings for current and previously available interface boards supported by OpenRepeater. It is as simple as selecting the supported board from a drop down list and loading the presets. This options is available in both the setup wizard as well as on the interface page (formerly the ports page). This will setup all the GPIO pins required by the board for each port, and in some cases can also setup other supported features with modules (like relays) if the board is so equipped. At the same time this will also push out default settings to the Alsa Mixer to set baseline software sound levels.
Currently the following boards are supported in version 2.0.0:
- ICS Controllers Pi Repeater 2X (v3.1+) and version 2.1 prototype
- ICS Controllers Pi Repeater 1X (v1.0+)
- F5UII/F8ASB SVXLink Card (v1.11+)
- KB3VGW SVXLink Basic Board (v1.0)
Of course manual configuration is still available for custom and home brew hardware.
New Module Framework
We’ve also added a module framework. This allows for SVXLink modules to be grouped under a centralized location and provide the ability to enable/disable modules as required as well as set options for modules. The EchoLink settings page has been moved under the modules section and it’s settings page can be found there. We’ve also added our own ORP Remote Relay Module, which is a custom module to allow the control of up to 8 relays via GPIO pins using DTMF commands.
Currently available modules are:
- Help Module
- Parrot Module
- EchoLink Module
- ORP Remote Relay Module
We will be adding more modules in up coming releases and we have plans to further develop the module framework to eventually support user installation of custom modules.
Improved Dashboard
The web interface now supports the ability to both restart and shutdown the controller as well as being able to start and stop the SVXLink service (aka the repeater core). This is all done with a simple click of a button. The dashboard is also now updated with AJAX for real time information such as processor temperature and load as well as memory utilization.
New Onboard Audio Codec Support
Version 2.0.0 has added support for the NXP SGTL5000 low power stereo codec chip. This is currently available on the ICS Controllers 1X and 2X boards. This allows for onboard sound via the GPIO header without having to use external USB sound cards. It is merely plug & play when used in conjunction with the board presets feature.
The Wizard

For those new to OpenRepeater, the wizard will guide you through the minimum required settings to get your ORP controller up and running as quickly as possible. So the first time you login with the default username and password, you will get the setup wizard where you will be asked a couple questions and given some guidance to get up and running. It will also setup many of the setting as defaults so your are not overwhelmed with the initial setup. After everything is working, the next time you login you will see the full user interface where you can tweak setting to your liking.

