
- Download and install the ApplePi-Baker application (if you haven’t already).
- Obtain the latest copy of the disk image for the project from our Downloads page.
- Extract the image file from the downloaded .ZIP file, so you now have “distribution-name.img”.
- Insert the SD card into your SD card reader.
- Run ApplePi-Baker.
- Select the SD card under “PI-Crust : Possible SD-Cards”. WARNING: Make sure to select the correct drive! You could inadvertently damage your hard drive if you are not careful.
- Under “Pi-Ingredients”, select the image file you extracted above.
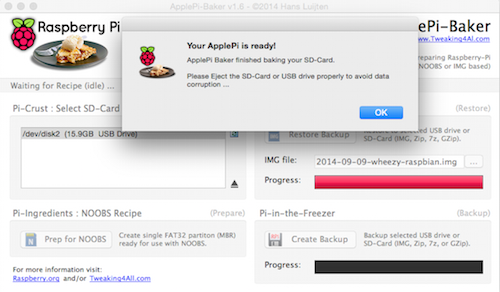
- Click on the “IMG to SD-Card” button and wait for the write to complete.
- Quit ApplePi-Baker and eject the SD card.