
Getting Started Guide

Greetings and thanks for your interest in the OpenRepeater Project. This Getting Started Guide is a collection of our Knowledge Base Articles intended to help you get the software portion of the project up and running quickly. For additional help on software & hardware, please Search the Knowledge Base.
SD Image Setup Requirements
In order to setup your pre-configured boot-able SD card you will need the following:
- Micro SD Card of 8GB or Greater
- Card Reader capable of reading larger SDHC cards
- An Imaging Application such as ApplePi-Baker (Mac) or Win32DiskImager (Windows)
- A SD image from our download page for supported boards.
Building the SD Card
Please choose the appropriate platform you will be imaging your SD card from:
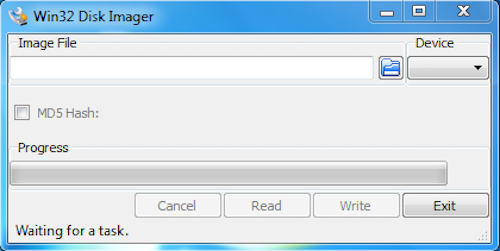
- Download and install the Win32DiskImager utility (if you haven’t already).
- Obtain the latest copy of the disk image for the project from our Downloads page.
- Extract the image file from the downloaded .ZIP file, so you now have “distribution-name.img”.
- Insert the SD card into your SD card reader verify it’s drive letter.
- Run the Win32DiskImager (Depending on your computer and os , you many need to run with Administrator rights.)
- Select the image file you extracted above.
- Select the drive letter of the SD card in the device box. WARNING: Make sure to select the correct drive! You could inadvertently damage your hard drive if you are not careful.
- Click Write and wait for the write to complete.
- Exit Win32DiskImager and eject the SD card.
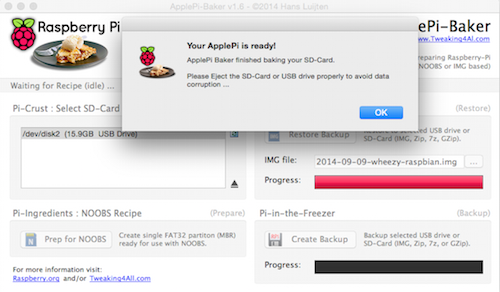
- Download and install the ApplePi-Baker application (if you haven’t already).
- Obtain the latest copy of the disk image for the project from our Downloads page.
- Extract the image file from the downloaded .ZIP file, so you now have “distribution-name.img”.
- Insert the SD card into your SD card reader.
- Run ApplePi-Baker.
- Select the SD card under “PI-Crust : Possible SD-Cards”. WARNING: Make sure to select the correct drive! You could inadvertently damage your hard drive if you are not careful.
- Under “Pi-Ingredients”, select the image file you extracted above.
- Click on the “IMG to SD-Card” button and wait for the write to complete.
- Quit ApplePi-Baker and eject the SD card.
Booting Up
The boards are intended to run “headless” (meaning without a monitor and keyboard). If you want you can plug a monitor or TV in via the HDMI port to watch what is happen, otherwise you can SSH into the board.
Some boards have a jTag/UART interface for a serial console interface. you may also connect this route for terminal control.
- Make sure that the SD Card that you prepared above is properly installed in the board SD card socket.
- You may connect your network cable to the Ethernet port on the board. See the section about connecting to the network.
- Depending on the board you use, connect the proper 5 VDC power adapter for your board to the power plug or micro usb power connection. If you are uncertain what your board requires, we suggest that you purchase the power supply for your board at the time you purchase the board.
- Upon powering the board, you should see the status lights flashing on the board as it boots. The function of these will vary depending on your board.
Connecting to the Network
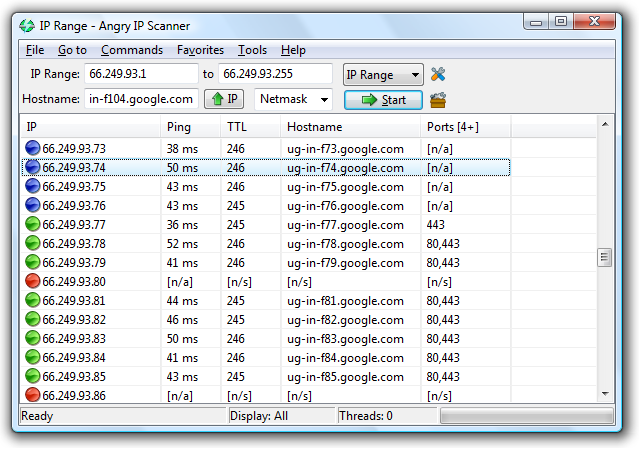
Plug the board into your network using an ethernet cable. By default it will get an IP address via DHCP. You can use an app like the Angry IP Scanner (for Windows/Mac/Linux) or iNet Network Scanner (for Mac) to find out what the IP address of your device is on your local network. You may also be able to use the DHCP client list from your network router’s administration page to find this IP address.
For a long term solution, you may want to SSH into the board and set the IP address to a static address for more consistency.
Alternate Connection Methods (Optional)
While the OpenRepeater is designed to run headless, you may wish to connect it up to a keyboard and monitor for the initial setup and testing. Most single board computers have video out in some form, usually HDMI or Micro HDMI.
What you will need:
- A monitor or TV that supports HDMI, DVI, or another appropriate input
- The appropriate cabling to go from your SBC to the monitor
- A USB Keyboard
- (Optionally) A USB Hub if your SBC doesn’t have enough USB ports
It pretty simple, just connected up the monitor with the appropriate cables, plug in the keyboard in a USB port (use a USB Hub if required) and power on the board. You can use the same username and password as you would with SSH.
[info_box style=”announcement”]Default Root LoginUsername: root
Password: OpenRepeater[/info_box]
Once you are logged in to the command line, you can issue commands as usually. Use ifconfig to find the assigned IP address for your ethernet port (eth0). This is the IP address you will need to log into the Web Control Panel.
Note: Don’t forget to change your password to secure the root account.
If you plan to log in via SSH, then you have already discovered your device IP address (or will have to) using one of the other means. Once you know that you will be able to log into the Web Control Panel as well as use SSH for other command line functions.
- You will need to use an app on your computer that is capable of connecting via SSH, like PuTTY for Windows or the built in Terminal application on the Mac.
For PuTTY on Windows, select the SSH mode, enter the IP address and a port of 22 and save the session if desired. Open the connection and enter the password. - For Terminal on the Mac, at the command prompt enter ssh root@xxx.xxx.xxx.xxx and then press enter…(xxx.xxx.xxx.xxx) being the IP address you discovered earlier. Enter the password and the prompt will change to that of the remote OpenRepeater server.
Username: root
Password: OpenRepeater[/info_box]
Once you are logged in via SSH, you can issue commands as usually.
Note: Don’t forget to change your password to secure the root account.
 Another alternative to access your board if you need to obtain your IP or be able to set a static address is to use the UART serial connection on many boards. We won’t go into specifics for your board here, but the basic steps are as follows:
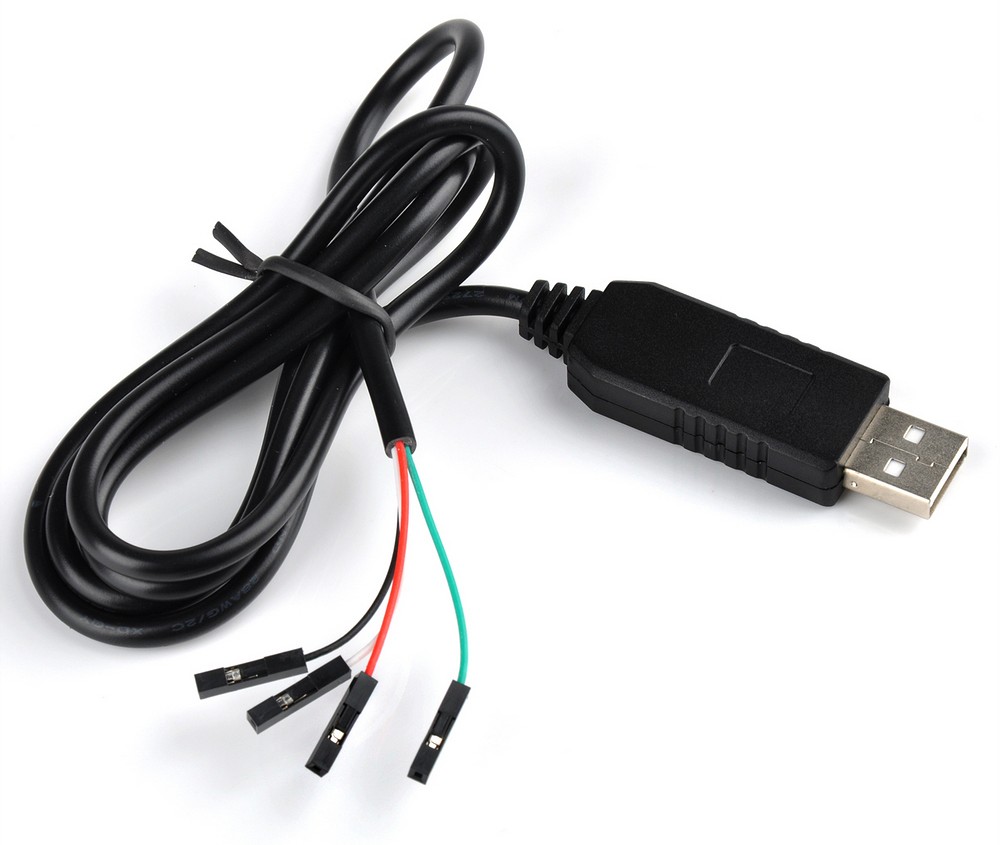
- First, make sure that you have an appropriate driver for your USB-To-TTL cable/converter. There are a number of different manufactures that make the chipsets in these device (i.e. Prolific, Silicon Labs, and FTDI).
- Connect a USB to TTL adapter appropriate for your board to the UART pins. In most cases you will be connecting the ground lines and then crossing over the TX and RX lines…so TX to RX and RX to TX.
- Using an app on your computer that is capable of connecting via a serial terminal mode, like PuTTY for Windows or CoolTerm for Mac.
- Select the appropriate port and baud settings for your USB to TTL adapter.
- Connect
- Login using the username and password.
Username: root
Password: OpenRepeater
Note: Previous beta versions might have used the following logins: RPI 2: root/debian (username/password) & Odroid C1: root/odroid (username/password). This has been fixed on newer releases.[/info_box]
Once you are logged in to the command line, you can issue commands as usually. Use ifconfig to find the assigned IP address for your ethernet port (eth0). This is the IP address you will need to log into the Web Control Panel.
Note: Don’t forget to change your password to secure the root account.
Connect to the Web Control Panel
To connect to the web based configuration interface:
- Go to https://xxx.xxx.xxx.xxx (192.168.xxx.xxx) of the repeater board and click the login button on the splash page. NOTE: You may get a browser warning about an untrusted SSL Certificate…proceed anyways.
- At the login prompt, enter the username and password and click login.
Username: admin
Password: openrepeater[/info_box]
- After you’ve made it through the setup wizard and are logged in, we recommend that you change your password. You can do this by selecting the user dropdown in the upper right of the page.
The Setup Wizard
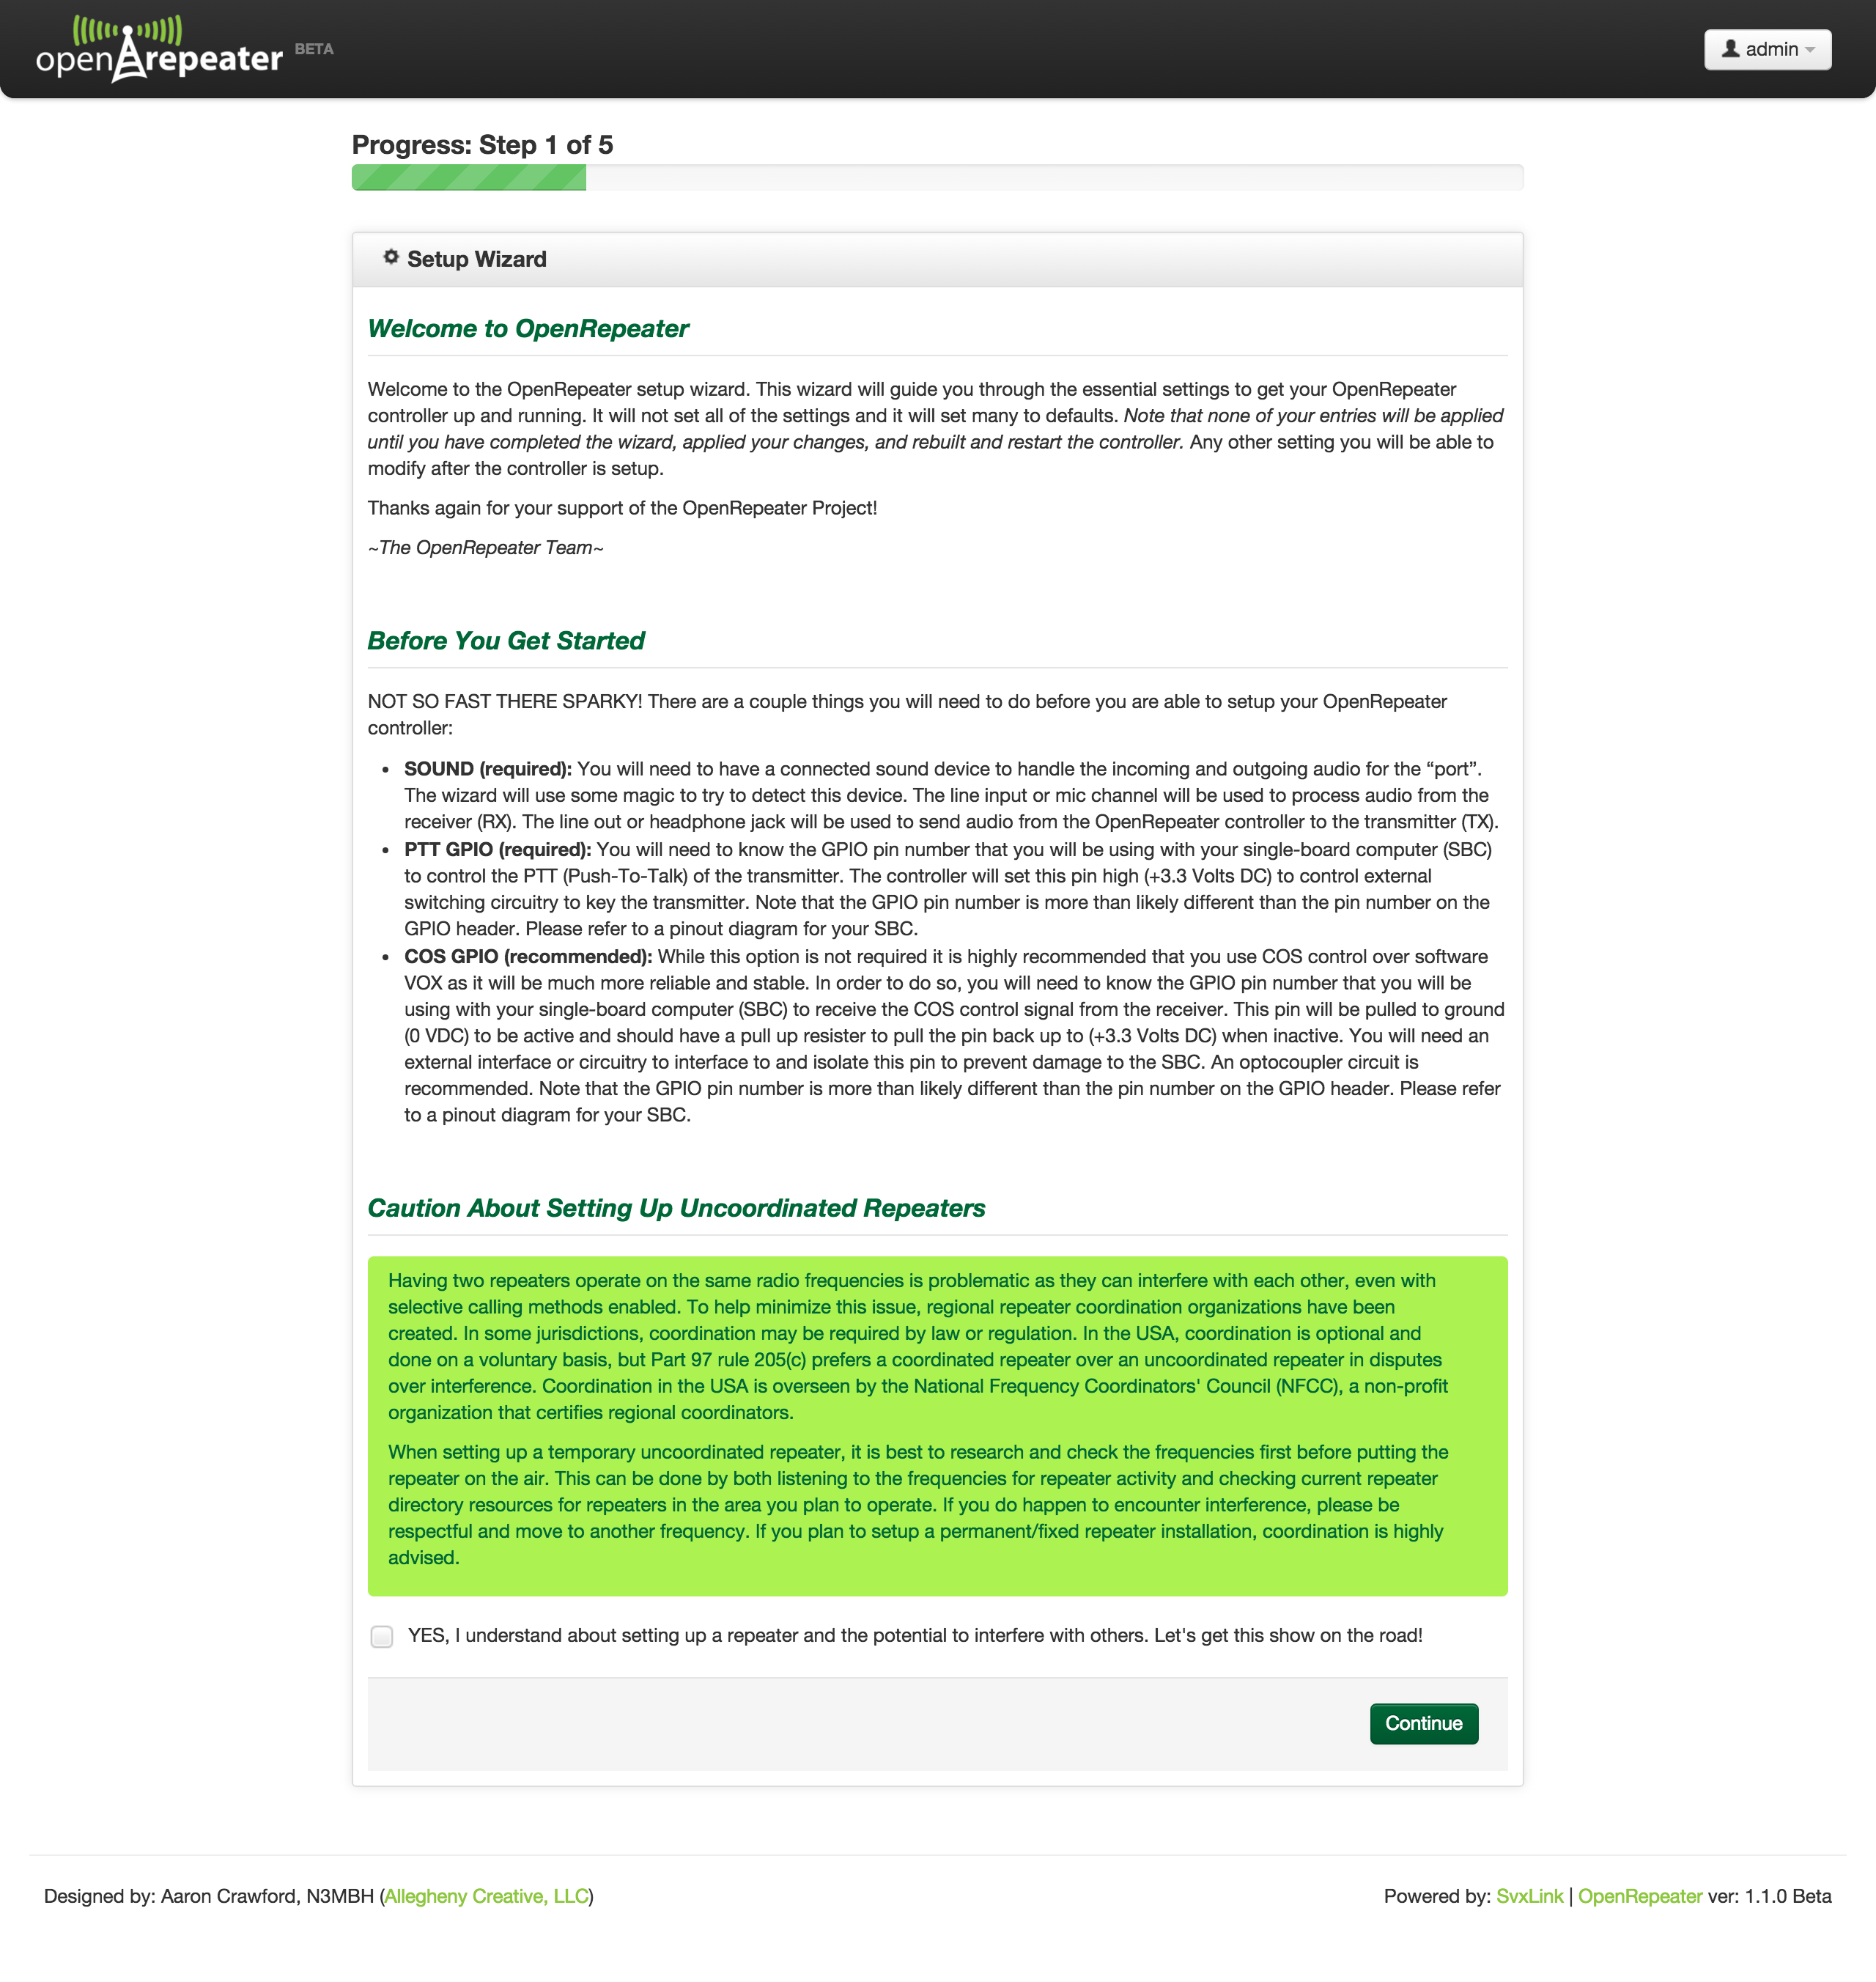


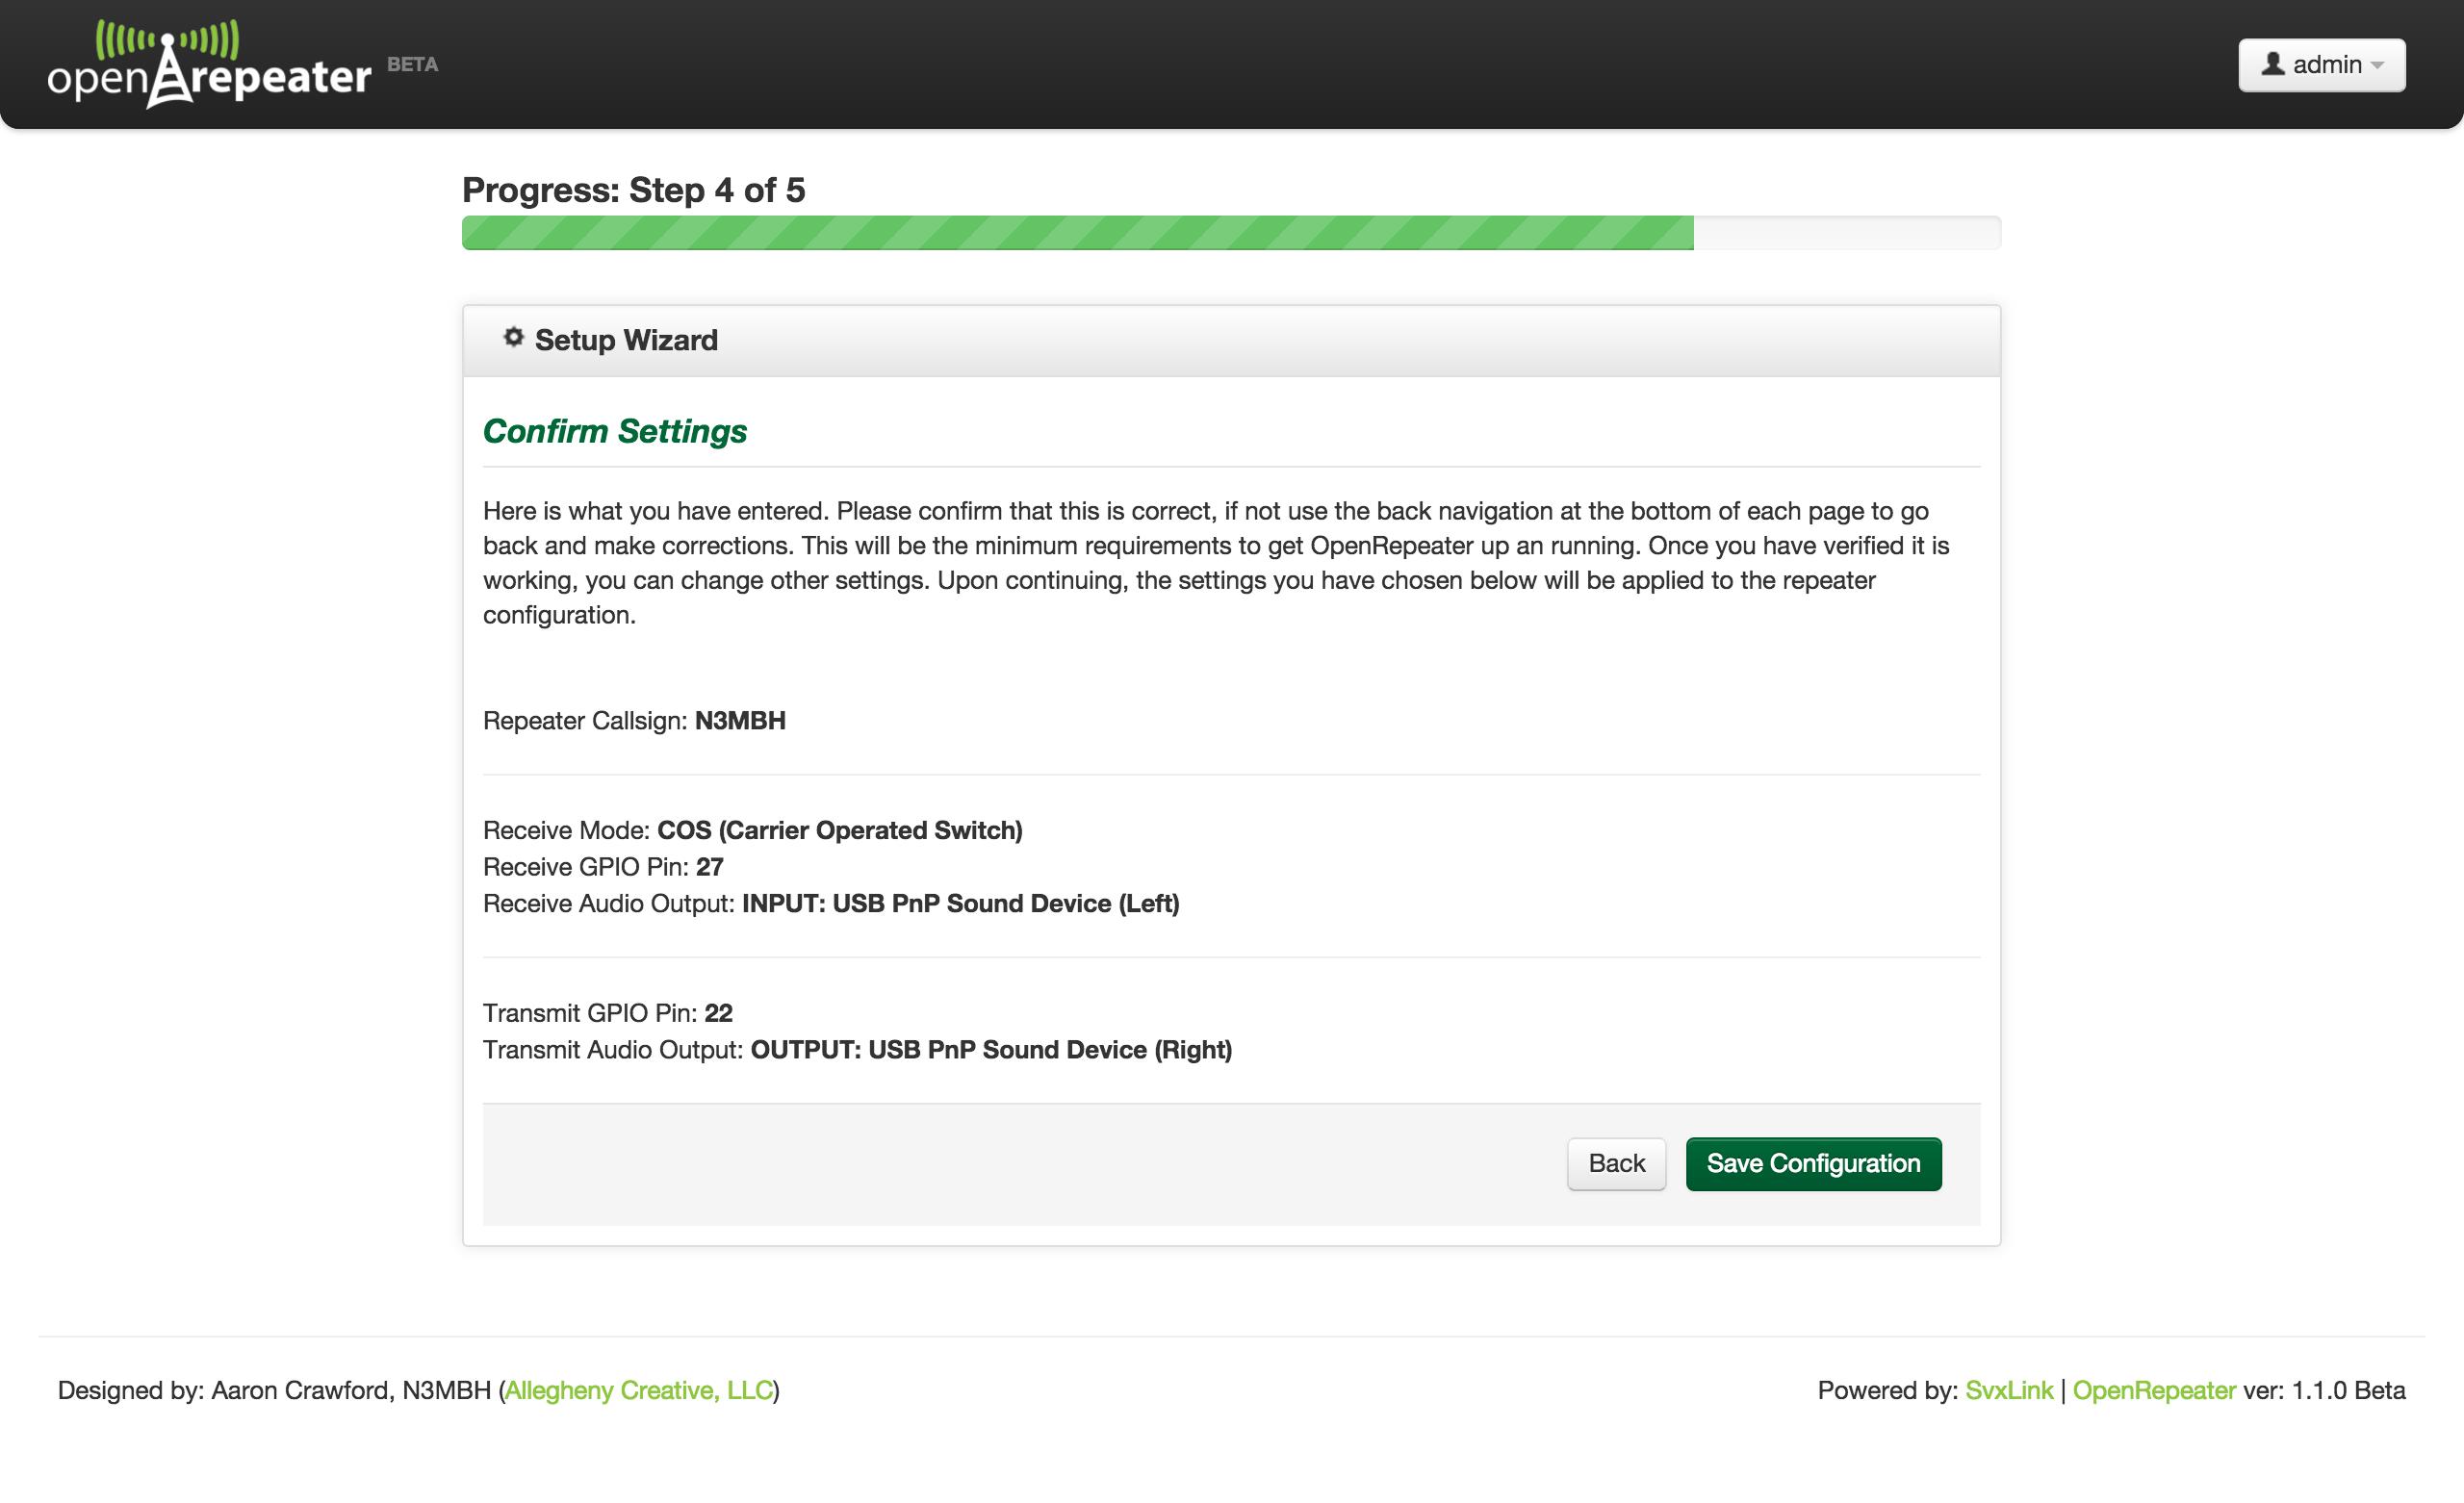
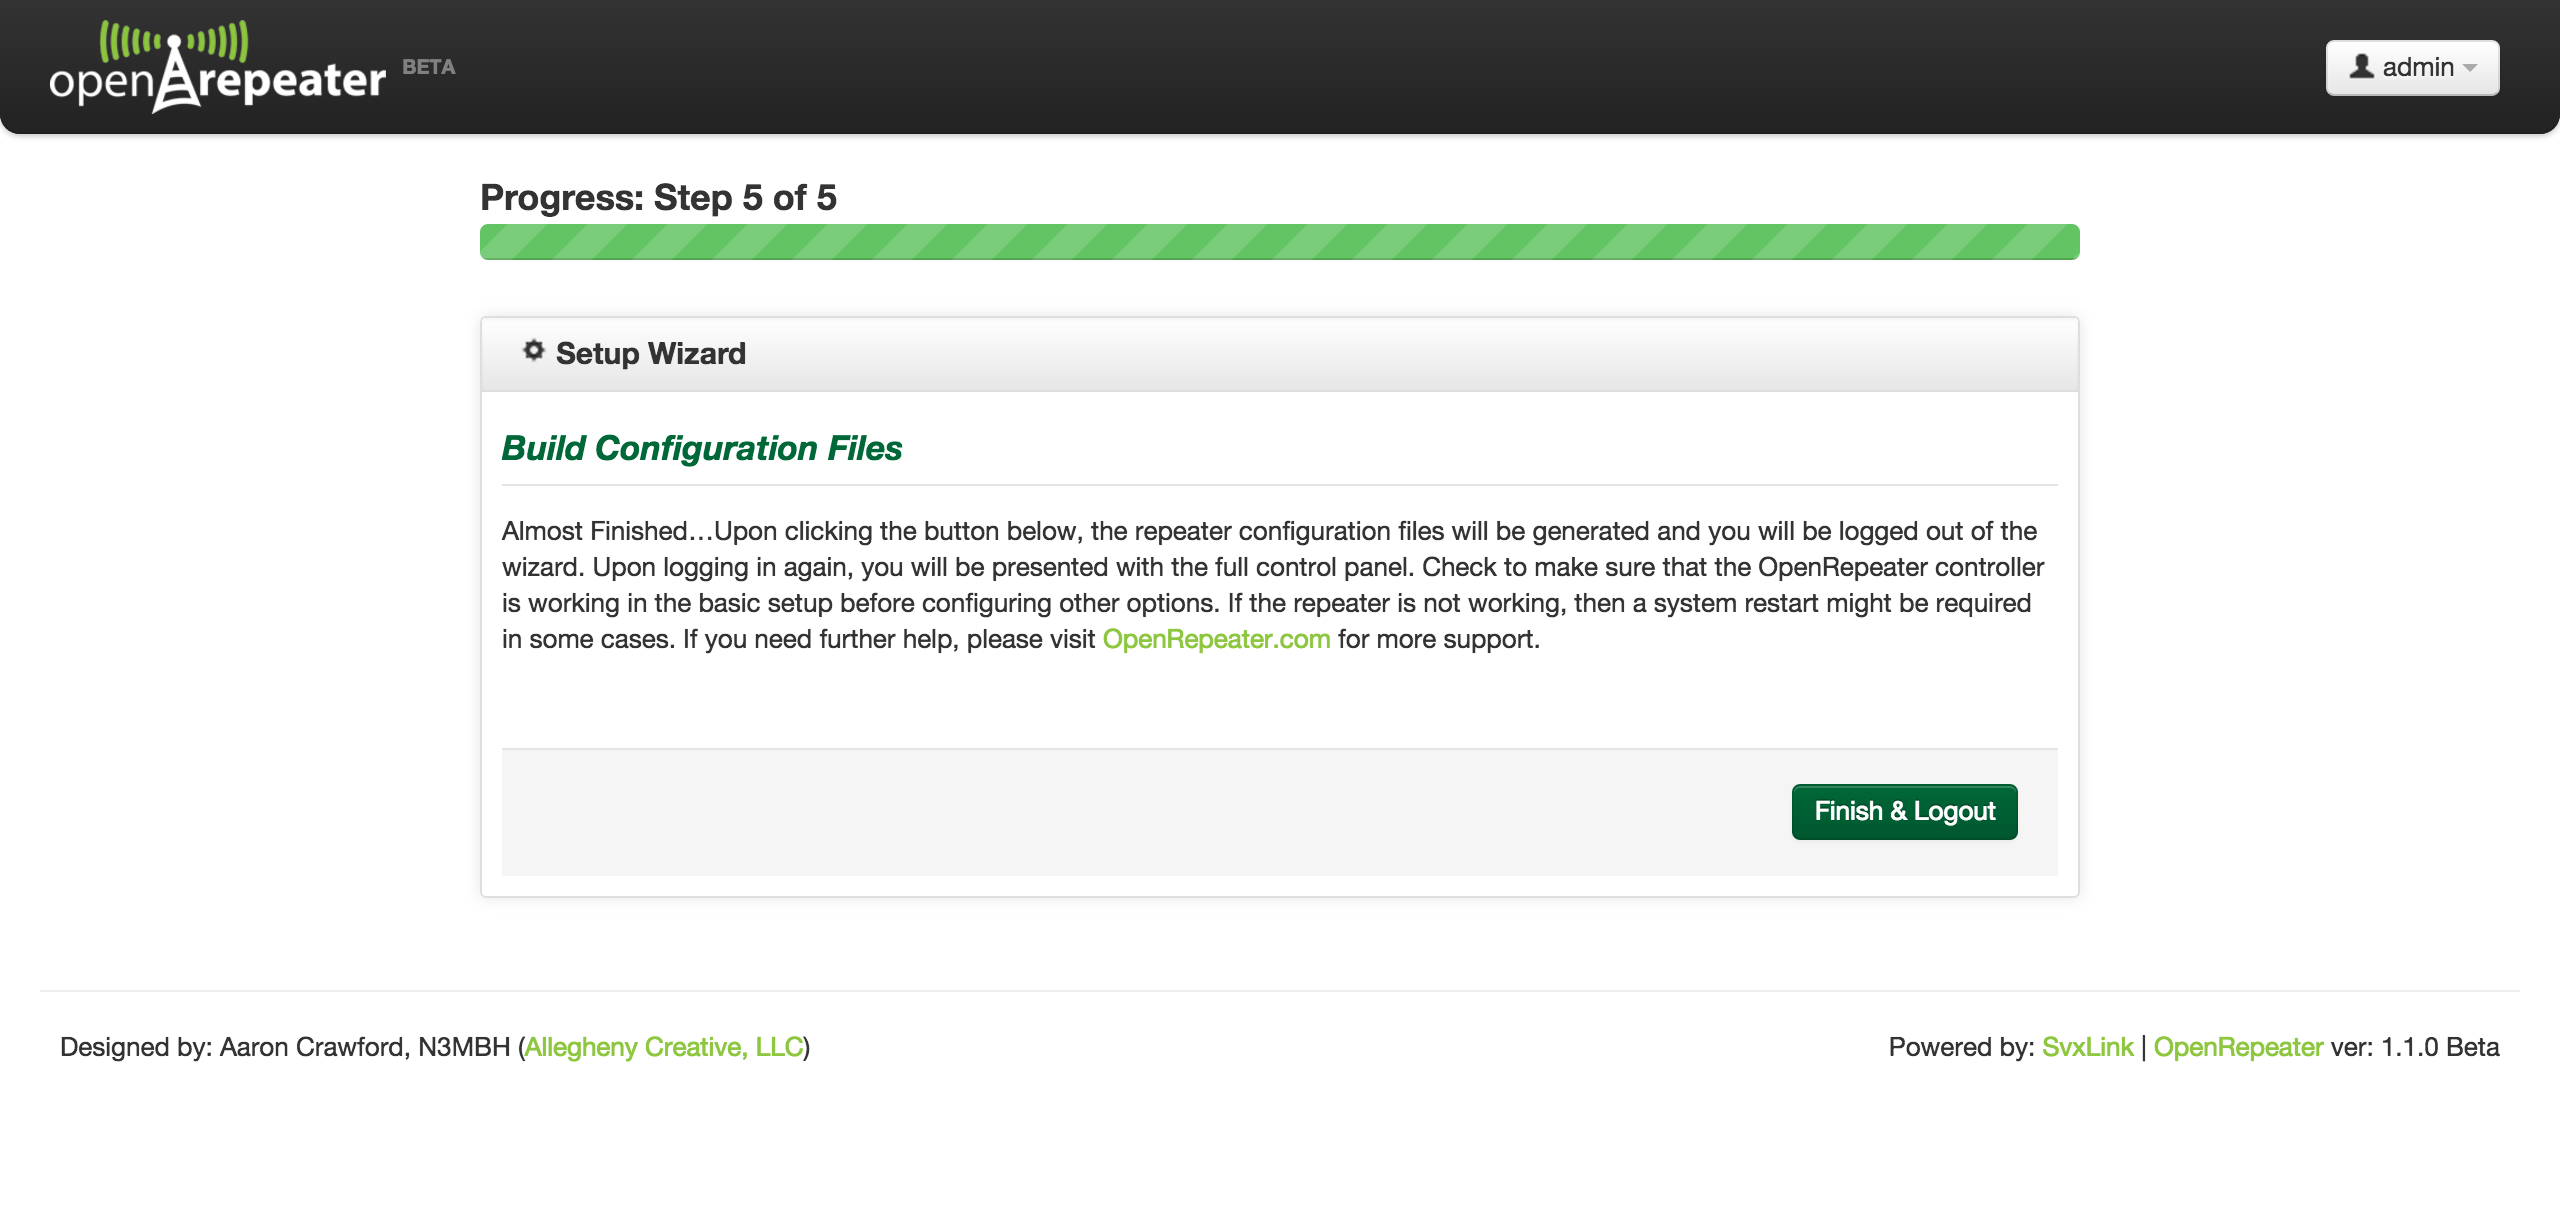
The first time that you log in on your new install you will be presented with a setup wizard. This is a one-time process that will help you set the basic settings to help get your system up and running quickly. There are setting like the callsign for the repeater, the sound device, and gpio in and out pins that are required to be set properly in order for the system to work at any level. This process is straightforward and you will be prompted for the information. Upon completing the setup wizard you will be logged out and a new configuration file will be generated. When you log back in you will see the normal web interface and can then modify additional settings.
NOTE: You will need to make sure that your sound device is connected before proceeding as it will try to detect it for you.
Expanding the File System
Chances are that your SD card is larger than the IMG file written to it above. To utilize all the space on the card (unpartitioned space) you will need to expand the file system to fill the entire card.
Chances are that your SD card is larger than the IMG file written to it when you imaged your card. To utilize all the space on the card (unpartitioned space) you will need to expand the file system to fill the entire card. Follow the steps below to complete this. Take your time to follow the instructions clearly as you can mess up the data on your card. It is usually best to perform this step right after you have imaged the card: 1) to give you the most room right away, and 2) if you do mess this up, then you can simply reimage the card without losing any customizations.
Raspberry Pi Users (Rasbian): For Raspberry Pi Images (Raspbian), you can simply use the menu driven raspi-config command at the command line and there is a expand file system option in there. For all other users please follow the instructions below.
Step 1 – Boot Up & Login as root
With the memory card inserted in your board, boot up and SSH into your board as the root user.
Step 2 – Modify the Partition Table
Enter the following commands below to use fdisk to change the partition table.
Start fdisk for the MMC card with the following command:
fdisk /dev/mmcblk0
At the fdisk prompt, enter p to display partitions. You should see something similar to the image below.

Partition 2 should be the “Linux” partition with ORP on it. Be sure to note the start sector for use in a minute. It might be a good idea to select and copy this into your clipboard if your ssh client will allow it.
Delete the Linux Partition
At the fdisk prompt, enter d to delete a partition and then press 2 to select the 2nd partition. You should receive confirmation that partition 2 has been deleted.
Note: Nothing will actually be deleted until you issue the write (w) command at the end.
Create the New Partition
Next at the fdisk prompt, enter n to create a new partition. Select p for a primary partition, and 2 to create partition 2. When prompted, enter the first sector amount above as the new sector amount, then when prompted for the last sector, hit Enter to accept the largest possible amount. Those results should look similar to this:
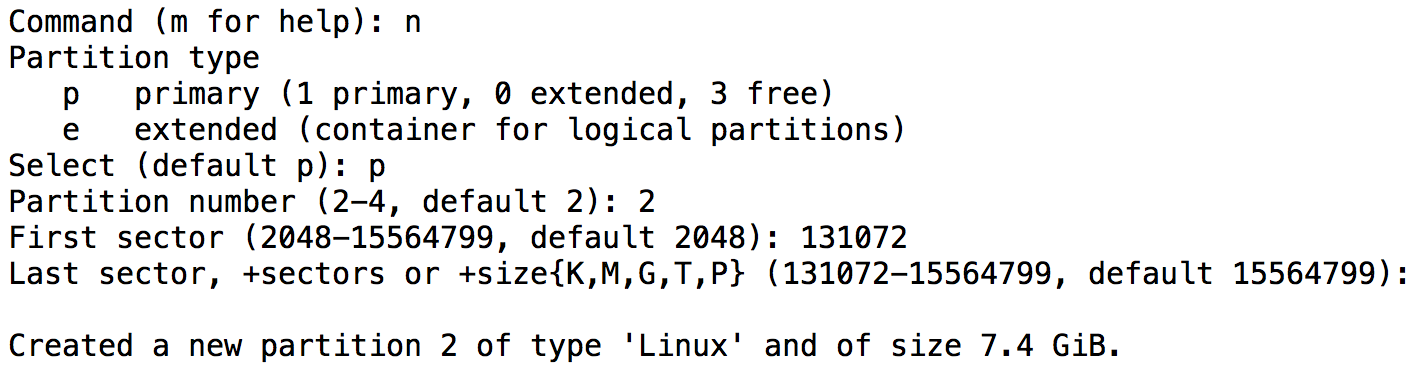
You should notice a size returned pretty close to the capacity of your card. If something doesn’t look correct, then hit q to quit without saving the chagnes. Otherwise, press w to write this information.
Step 3 – Reboot
You will now need to reboot the system and log back in as root. If you have an active SSH session, this will be lost and you will need to reconnect after the system reboots.
reboot
Step 4 – Resize the Partition
The last and final step is to resize the file system. Once the system has rebooted and you are logged back in as root, issue the following command and wait until it completes.
resize2fs /dev/mmcblk0p2
That should be it. If you log into the OpenRepeater Web Interface and look at the disk usage, you should see you have more space now.
Note about Security
For development and distribution reasons, the system is pretty loose security wise: root access, simple passwords, etc. This is the responsibility of each user to lock down to their liking and requirements.